
2001 Dodge Grand Caravan Serpentine Belt Replacement (3.3 Liter Engine)
I wanted to replace the serpentine belt on my 3.3L engine as part of the 75K maintenance. When I looked down from the open hood, releasing the belt tensioner looked impossible. The trick is to remove the Accessory Drive Belt Shield, which is behind the right front wheel. I removed the right front tire first to give me more space, but I think it can be done if you just turn the steering all the way to the right.
The Accessory Drive Belt Shield is held in place by four fasteners. One of them is a bolt and the other three are spring-loaded fasteners that just pop off.
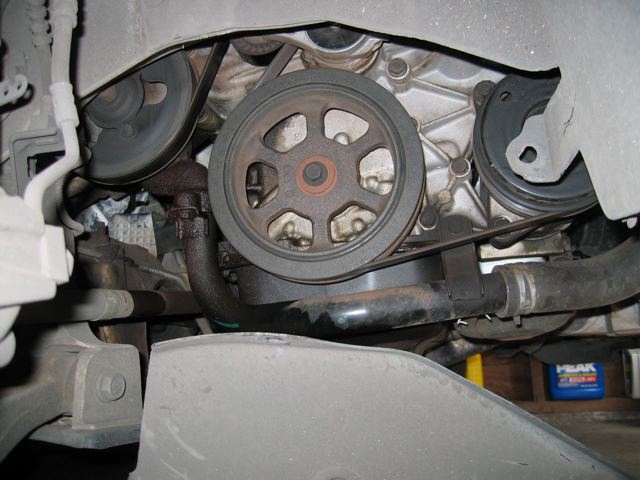
Here is a picture of the right-front wheel well once I lowered the shield (at the bottom of the picture). The belt is very accessible with the tensioner partially visible at the top.
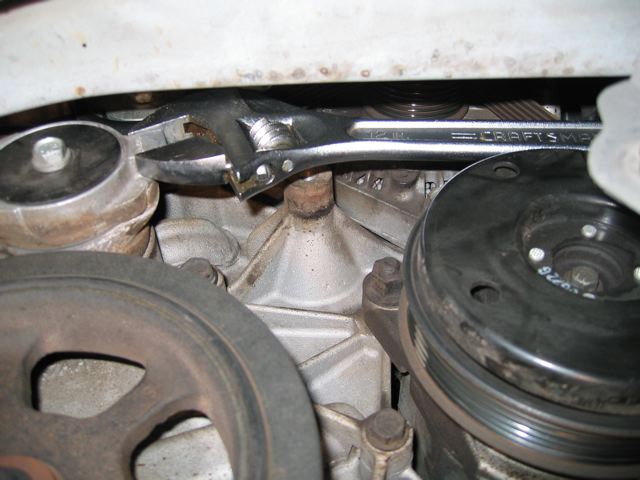
The tensioner is released with a 19mm wrench on the belt tensioner lug. My adjustable wrench was conveniently held by the A/C pulley while I removed the old belt and installed the new one.
A Dodge Caravan is equivalent to a Plymouth Voyager and Chrysler Town & Country. Engines from 2001 on have a serpentine belt. The same procedure should apply to the 3.8L engine.
2001 Dodge Grand Caravan Starter Replacement (3.3 Liter Engine)
At 150,000 miles, it was time to replace the starter. It was relatively simple once I found the location of the two bolts that hold it in place. The bolts are in the transmission bell housing (driver’s side) and thread back into the starter motor. The lower bolt requires a 15mm socket and is easy to access from below the car. It’s close to the transmission oil pan.
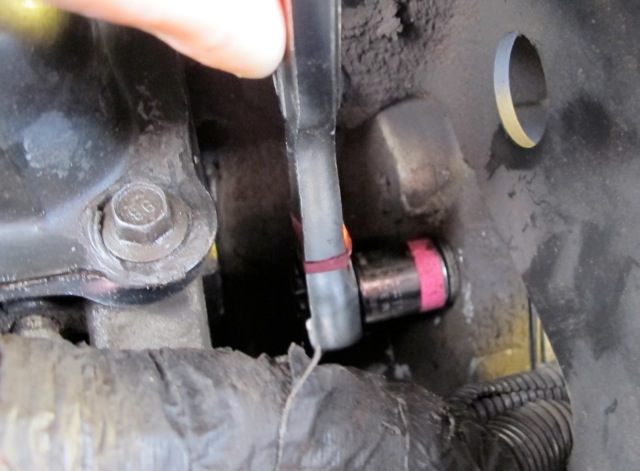
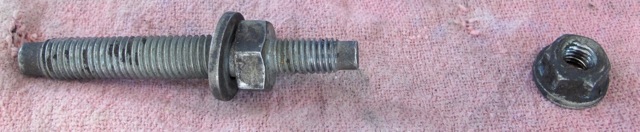
The upper bolt is a bolt/stud which mounts the engine ground straps:
It’s accessed from the top of the engine with socket/extension from the right of the upper radiator hose.
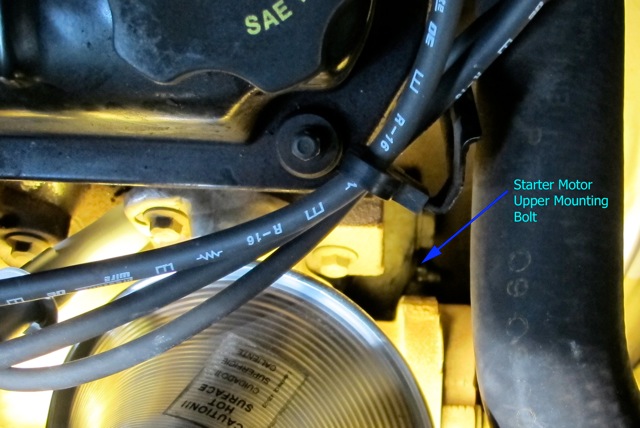
Start by removing the 13mm nut which holds the ground straps. Next you’ll need a deep 15mm socket to remove the bolt.
Removing the wires from the starter is obvious. But, it helps to have an assistant (or long cable tie) pull the wiring harness up while you remove the old starter and insert the new one.
Here is a picture of the new starter in place — before the wires have been connected. The radiator is at the top of the picture and the oil filter is on the left.

Updated: January 2017
Contact: GerdHoeren at Gmail dot com